
Transferring a picture to wood.
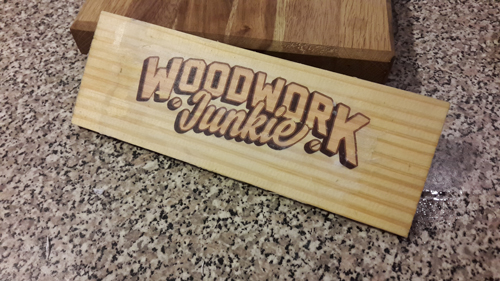
Add some flair to your next arts and crafts projects using a laser printer and some scrap wood.
A fun technique to try out on DIY gifts or decorative fixtures for your home. This is our easy “how to print on wood” guide – Cheap and easy.
This project works best when using a print that covers the entire piece of wood
What you will need.
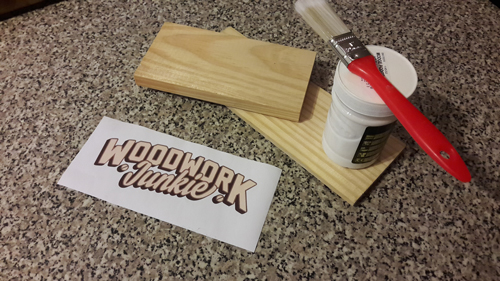
- A laser print of the image you want to transfer to wood. (Ink jet print will not work)
- A paint brush or sponge to apply the Mod Podge.
- A piece of wood to transfer the image to.
- Mod Podge matt
(Mod Podge is a well know craft supply used to stick paper or fabric to various surfaces)
Also
- Scissors
- Straight edge or credit card
Step 1 – Preparation
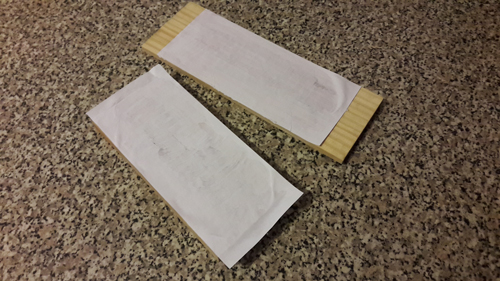
Start the project by wiping down the wood to ensure no impurities are on the surface that could spoil your print.
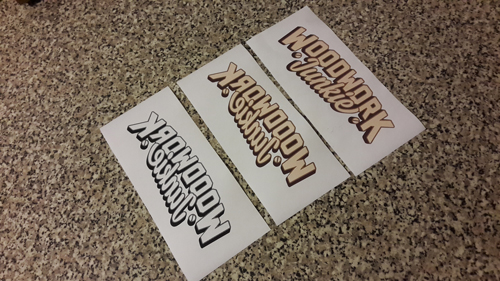
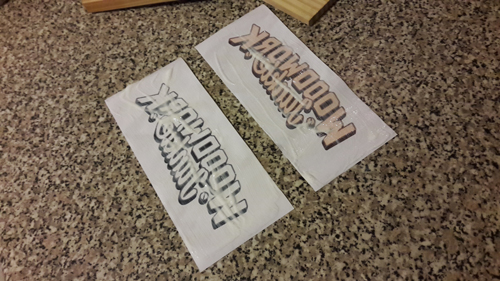
Cut the printed page to match the size of the work piece.
Note: If your image has words on like the one in our example you will have to reverse it before printing as the result will be a mirrored version of the image printed originally.
Step 3 – Apply Mod Podge
Apply a generous amount of Mod Podge to the printed side of the image you wish to transfer using a paint brush or a sponge.
Place the print face down onto the work piece. Be sure to align it properly so you don’t end up with a skew print.
Step 4 – Smooth it out
Using a credit card smooth out the paper by removing all prominent air bubbles and creases. This is done to ensure that the entire print is making contact with the wood.
Be careful not to tear the now soft paper.
Leave it to dry completely for the next 3 – 4 hours.
Step 5 – Removing the paper
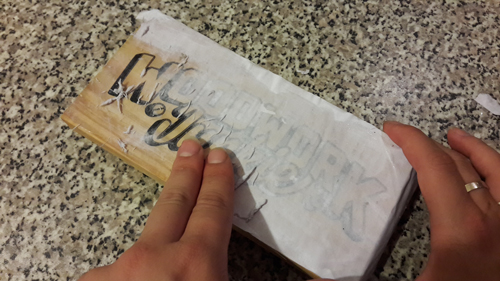
Once dry, using a wet cloth or sponge, wet the paper by dabbing it.
When the water has soaked and the paper is wet, gently rub off the paper using your fingers.
This step can be repeated a number of times until all the white remnants of the paper have been removed.
Leave to dry for 20 minutes.
Final Step – Finish
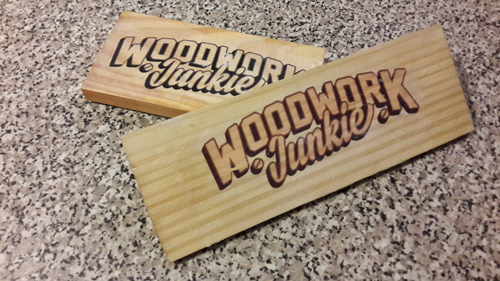
Once dry, finish by applying a thin layer matt or gloss Mod Podge to seal the print.
In the case of a photograph, you can use sand paper to rough-up the edges or give the image a more distressed look before sealing.
 Woodworkjunkie.com, DIY like a pro.
We would like to hear from you.
If you have any feedback or suggestions please leave a comment below or e-mail us at admin@woodworkjunkie.com
I find this very interesting as there are several things we have been looking for on wood. We don’t want to buy something that is being sold in quantity but something more personalized. I have a laser printer to use just need to find the mod podge matt. Thanks this is very informative.
Hi, great post. This sounds like a fun and easy craft project to try.
Loved the step by step instructions. Good thing you cleared up the part about reversing the image before printing. Someone new to this, like me, wouldn’t know to do that and would have a blotched first piece.
I think I’m going to try this.What I want to do is my house number for the address of my house.
Hi Joe
That’s a very creative idea. If it is intended for outside I would consider using a more robust sealant to protect the print.
Good luck
Jean
This sounds like a great idea.
You could use this to make a really nice custom game board, or transfer a kind of “paint by numbers” pattern for a non-artistic person to paint a pattern on the wood.
My grandmother painted beautiful patterns on her furniture, flowers mostly, but other things as well. I lack her talent, but I could do it with a pattern.
Thank you for this idea,
I can see it has a great many possibilities
Hello Elizabeth.
Those are all great ideas.
Very creative.
Thanks for the comment.
Jean
what on earth is mod lodge,
Hi Brycey
Mod Podge is a grafting adhesive brand that often gets used as a sealer and/or finisher. It’s water soluble and non-toxic and comes in different finishes like gloss or matt.
Mod Podge can be purchased on Amazon or most crafting supply stores.
Hope this is helpful.
Jean
Just want to say that this site and its content is amazing. I really like how its focused on DIY topics and the fact that most of it revolves around wood. This particular post on transferring an image to wood really grabbed my attention. Great job outlining the steps!
Hello Pete.
Thank you so much for the compliment.
Check back soon, we have some exciting content on it’s way.
Jean
Love it, great idea. I just set up a shop in my garage. I think I will give this a try. I love to putter around with do it yourself projects. This one is on the list…Thanks!
Hello Bill
Awesome, give it a go.
Using a photographs of yourself and others can produce some very nice home decorations.
Jean
This is a great post, I think I can design my own wood with my name and put it in front of my room’s door ^^
Hey Dino.
Great idea.
Happy crafting.
Jean
This is actually very creative. I can even do this as a gift for my friend. I am a total newbie to the wood thing. If I try it the first time, can I do that without any issues?
Hi, Furkan
Yes, you shouldn’t experience many problems with this projects. It is quite simple though a practice run might be a good idea before doing the actual project.
Good luck.
Jean