
Quick and easy woodworking projects for beginners
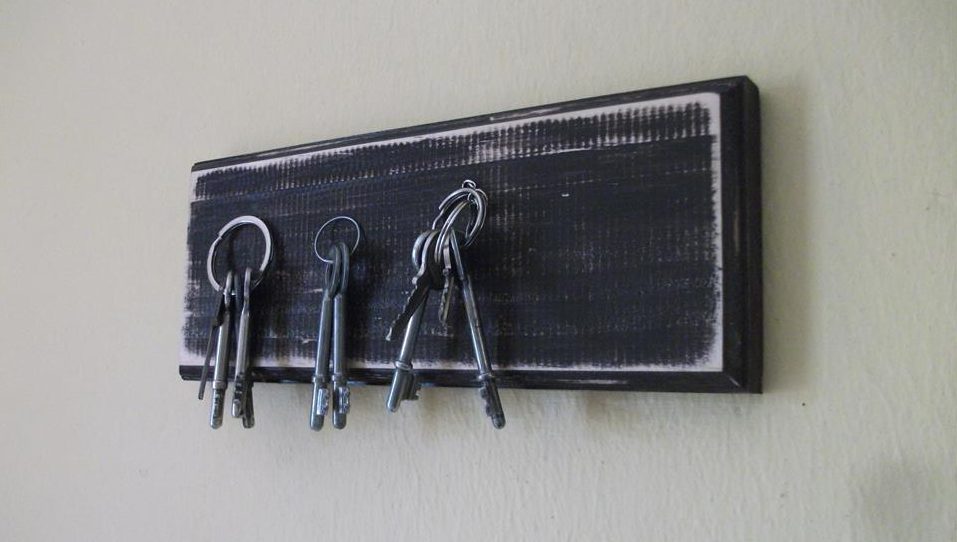
In this easy woodworking projects for beginners tutorial, we will show how to make a hookless key hanger using magnets.
Tools you’ll need
- Router with profiled bit
- Drill with fostner bit
- Saw (If wood needs sizing)
Materials you’ll need
- Glue
- 4 X Magnets
- Wood stain with a brush or sponge for application
- Double sided tape
- Piece of wood 3 x 10″
The magnets
Unfortunately, not just any old magnet will work for this projects.
You will need Rare Earth or NdFeB (Neodymium Iron Boron) magnets.
All the tools and materials for this project can be purchased from amazon.com.
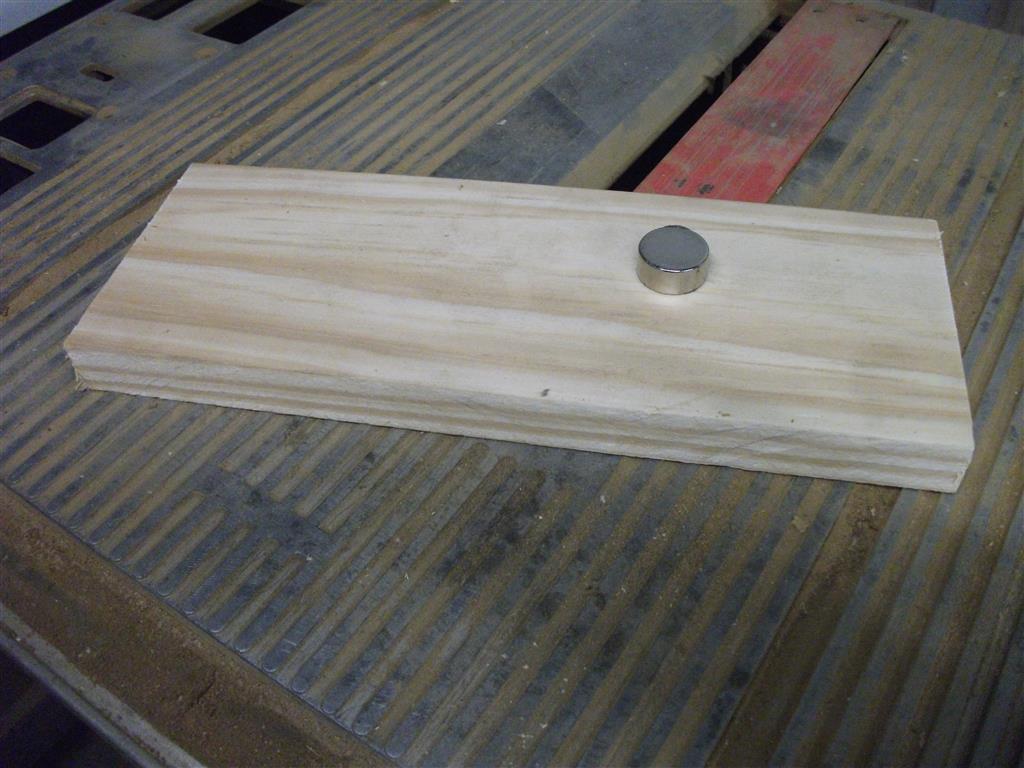
For the tutorial, we used 4/5 x 2/5″ sized magnets.
Step 1 – Mark the workpiece
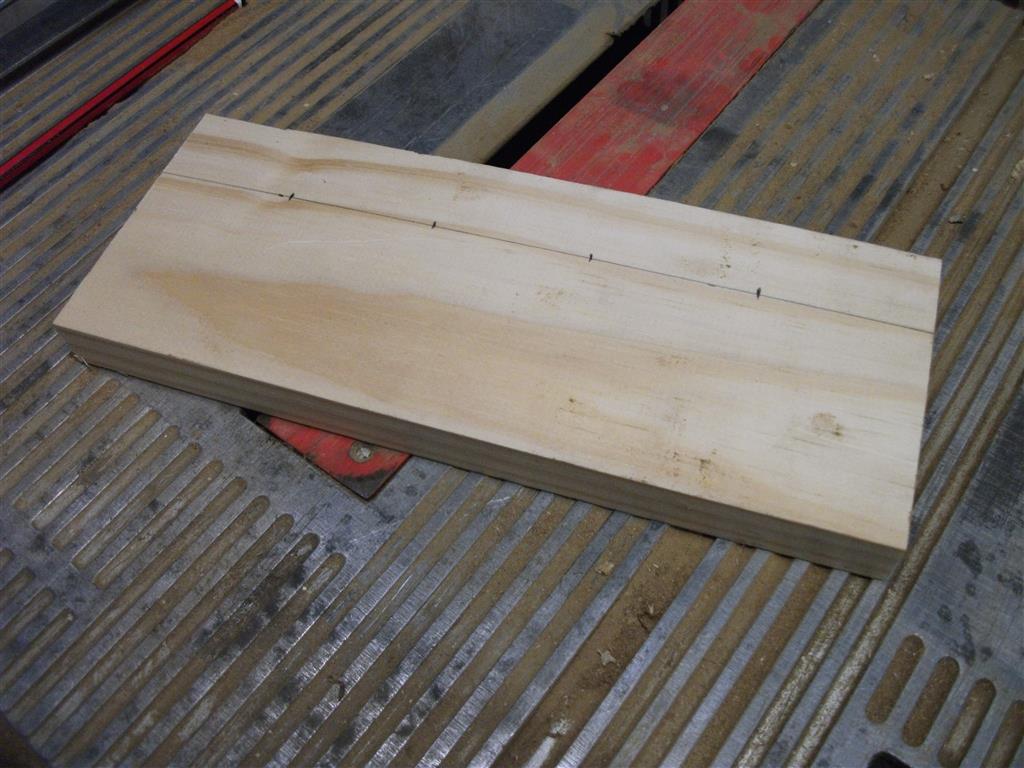
1″ from the top of the plank draw a line and mark it with a 2″ spacing. This will be where you drill the holes that the magnets will be glued into.
The point of sinking the magnets into the wood is to minimize the attenuation of the magnetic force caused by the wood.
Step two – Drill the holes
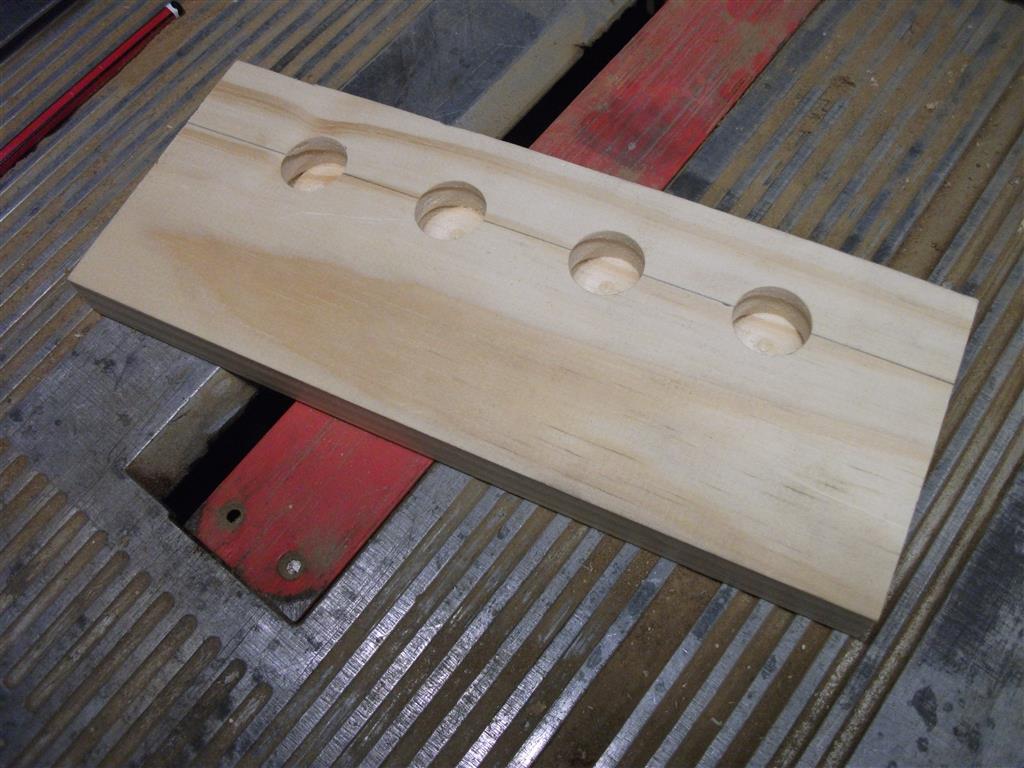
Using a fostner bit (sized to the magnets you are using), drill out the holes to a debt that would allow for no more than a 1/4 inch of wood between the magnet and the opposite surface of the wood.
(Use a vernier caliper to check the hole depth if necessary)
Ideally, you want as little wood between the keys and the magnets as possible.
Step 3 – Add decorative edge
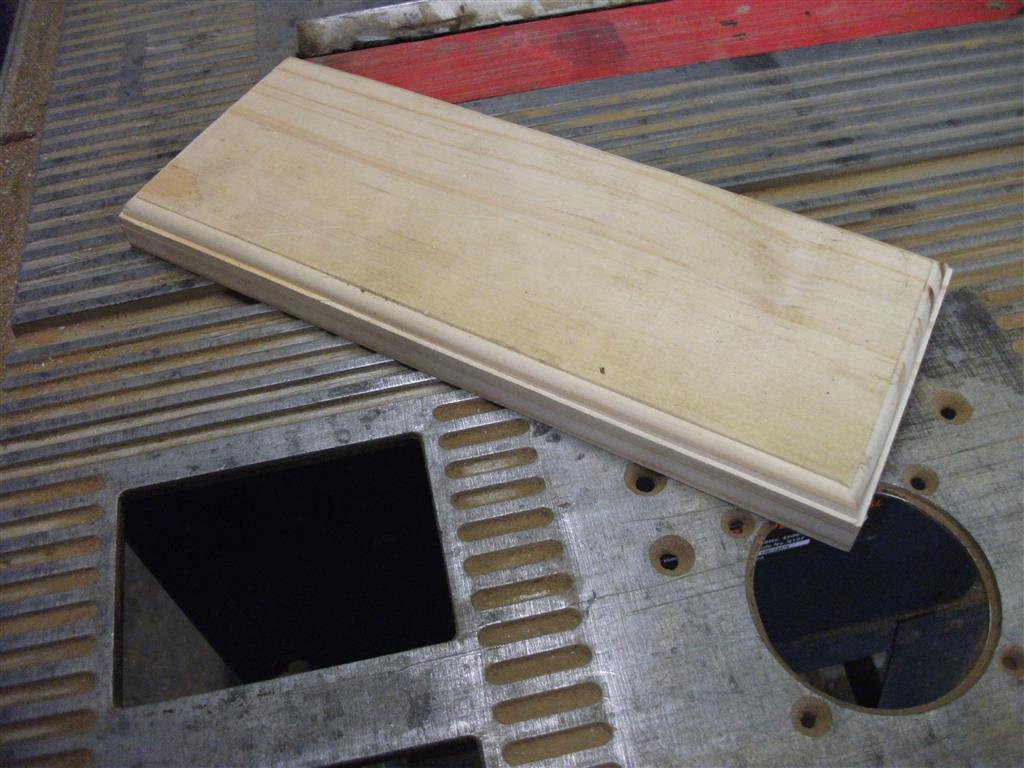
Using a router with a desired profiled bit, add a decorative edge around the outside of the workpiece.
Step 4 – Treat the wood
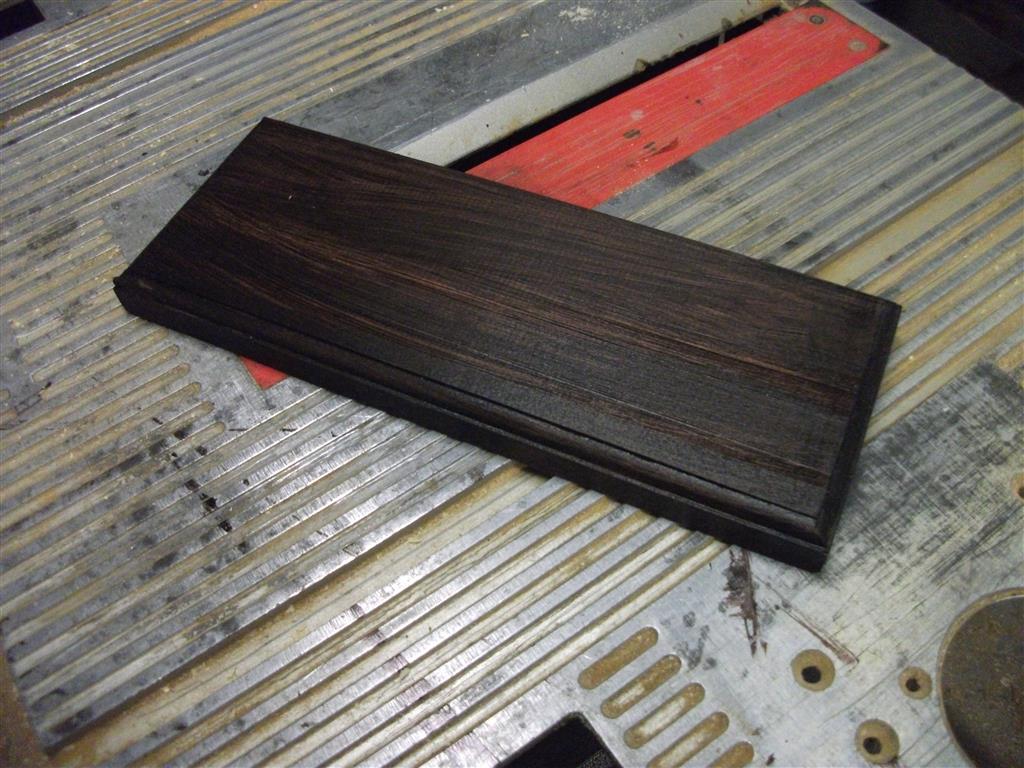
Treat the wood with a wood stain to suit your surroundings where it will be fitted. Sanding it lightly at this point to remove some of the wood stain can add a rustic component to this projects as well.
After gluing the magnets into the holes all that’s needed is to fit the key hanger to the area where it will be used using double-sided tape.
 Woodworkjunkie.com, DIY like a pro.
Jean,
What an awesome little project. The video was so helpful too.
Just makes it so easy to follow along
Thank you for this, gotta go make me one now.
Mark
Hey Mark,
Thanks for the comment, glad you liked the tutorial.
Happy woodworking.
Jean
Hey Jean,
Great write-up. The easy step by step guide is so impressive. I will be definitely come by more often to learn something new.
Nice work!
Hi Chris,
Happy to hear that.
We have some exciting content on its way. Check back soon or alternatively, you can join our mailing list and receive updates when we post new tutorials.
Jean
Oh wow – that’s cool! I love how you’ve sanded back the finish to give it that rustic look, and the video helps clarify how it’s made. Do you think I could make a longer one for the kitchen? How much weight would the double sided tape support do you know? Thanks for sharing this!
Hi Angela
You could definitely make it longer, as long as you want. Just add more magnets. You do also get instead of round, elongated rectangular magnets which may work better if you intend on using it for utensils or knives.
I would use a hardwood and also add a sealant to the treatment process if the board is going to be used in an area that will have higher levels of steam.
Hope this is helpful.
Happy woodworking.
Jean
Hi Jean
Nice post. nice tutorial and easy to follow. I like very much about the video tutorial .
thank you for this tutorial. Maybe I should try this..
Hello Henryan,
This is a great project for beginners.
It’s easy and does not require a range of high-end equipment.
Jean
I simply love your ideas and your work….
Hi Jean,
I know im a little late on the comment (almost 4 years) but I just found this website.
I am finding ideas for projects to sell online and this is a good one! I am just wondering if your prepare the product to be mounted on the wall of the client takes care of that on his own?
Cheers,
Fred G
I just saw the video. Question answered hahaha