
Wood filler, the beginner’s friend.
Wood filler is often used to repair or restore damaged wooden articles by masking any cracks or indentations in the wood. The process involves filling the crack and after allowing the filler to cure, sanding it to a smooth, level finish. While this being the more common use for “wood makeup”, I find it to also be a great beginners woodworking tool.
As beginners, you often find yourself faced with a small blemish with the potential to remove from the professional look you might be aiming to achieve with your latest fine woodworking project. In these scenarios, a little wood filler can go a long way.
A commercial wood filler is inexpensive and comes in a range of tones to match whatever wood you may be working with but a perfect match will always be a challenge.
It is for this reason that I almost always chose to make my own. When making your own wood filler you can much closer match the color of the wood you’re working on.
How to make your own wood filler?
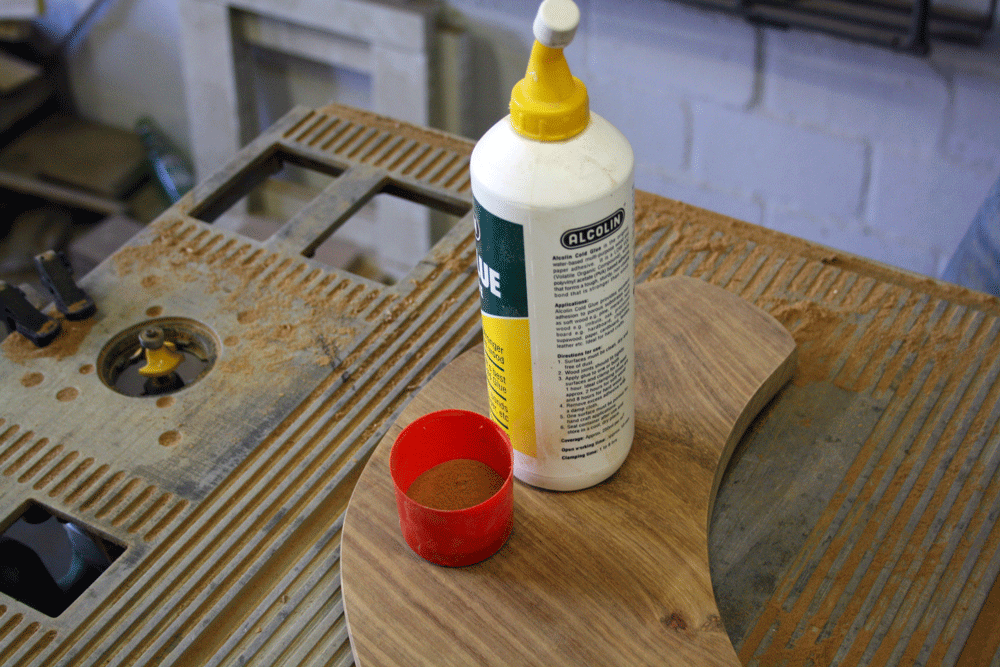
Well, it’s as easy as mixing wood glue and fine sawdust.
While the recipe to make your own wood filler with sawdust is not at all a complicated one there are some small considerations.
 The glue to sawdust ratio?
Keeping in mind that the saw dust it what gives the color to your DIY filler while the glue will be the bonding agent, finding the right ratio of glue to sawdust will produce a putty-like compound.- How fine is fine sawdust?
The finer the better. The sawdusts function is mostly to act as a pigment and therefore should be very fine. This dust is ideally harvested when sanding the workpiece.
Using a coarser sawdust will produce an undesirable texture. - The color of the sawdust?
This is where the true beauty of mixing your own wood filler comes in. Harvesting the sawdust from the workpiece the wood filler will be used on allows you to exactly match the color and so making the area where the wood filler is used as inconspicuous as possible.
Mixing and applying
 Collect fines in a container
Collecting the sawdust should be done from the workpiece it will be used on as to match the color. In addition, it should be as fine as possible. Ideally harvested after sanding an area of the workpiece.- Mix in wood glue
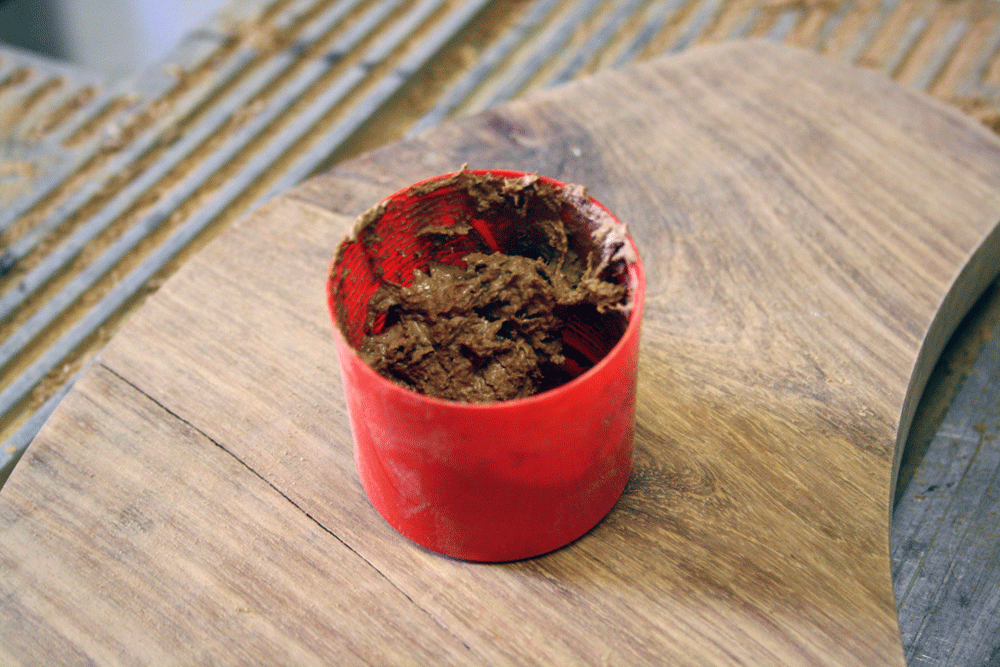
Gradually add glue to the sawdust while mixing until a putty-like consistency is achieved. - Apply to hole or crack
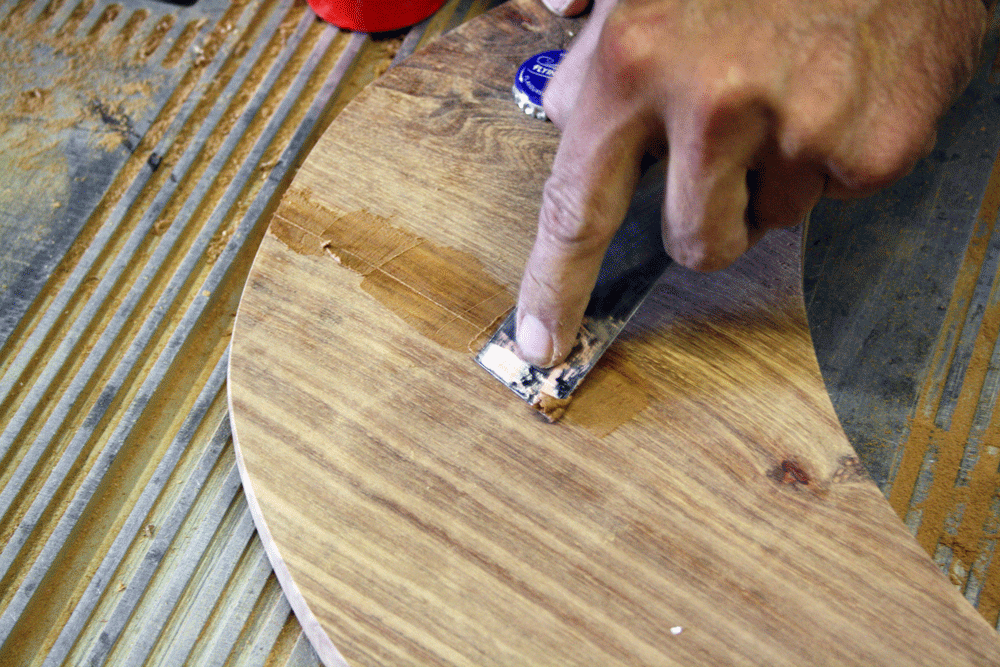
Using a scraper, apply the DIY filler to the area it is to be used. In the case of deeper cracks and holes, try to get the wood filler as deep into the crack as possible. With the scraper, remove any excess filler from around the area and leave to cure. - Sand it down
After the glue has cured use a fine grit (200+) sandpaper to sand the area to a smooth finish.
Final thought
Making your own wood filler will save you from wandering around your local hardware store like a lost soul looking for the right filler to match your project and in addition spare you from the feeling of disappointment after arriving home just to find you made the wrong selection.
It also means you don’t have to dedicate a special area on your shelf for the range of different tones of wood fillers for all the woods you may be working with.
Happy woodworking!
 Woodworkjunkie.com, DIY like a pro
Thanks for the tip! It’s frustrating to have cracks in wooden furniture and honestly, I didn’t know what wood filler was. Thanks so much for the walk through. I will definintely remember this in the future. It’s crazy how the cracked part blends right into the rest of the wood after this process is complete.
Hey Jessica,
Thanks for the comment.
Very happy to hear this info is useful to you.
Jean
I am waiting for the clear Loctite Go2 glue to dry so that I can sand the model boat and see how my repair turned out.
I had some shavings from where I had planed the edges of the mahogany plywood and I put the shavings between 2 sanding blocks to try to produce sawdust. This was only partly successful – I screened the result repeatedly with hardware cloth (fine mesh screen) and got some passable sawdust.
I recently saw this done by the woodworking king (I think). However, a review of this and five other techniques were compared and the method that seemed to look and feel best was use of bondo. Just an interesting youtube video if you want to check it out.
Thanks for the heads up Ronda. I’ll check it out.
Does it matter if you use white or yellow glue? I use tightbond, im worried about staining the wood yellow.
Help. Where can I buy the wood dust from?
Hi Bill,
This method works best when sanding the object you want to fill and using the dust generated by that. This allows you to better match the color of the wood.
Would the saw dust from my Mitre saw work. I am looking to fill some decent size blemishes in cedar.
It may be too rough for wood filler. You could try to separate the fine dust by putting the miter saw dust through a fine sift.
I make lots of very fine wood dust with my belt sander. Wondering what type of glue is best. The ordinary wood glue tends to shrink over time when I did it with Elmers. Any thoughts or advice.
Made a lovely paste,perfect colour match and went on like a dream BUT in the morning it had turned black.
Your comments would be much appreciated
Kind regards
Phil
Hi Phil,
This is not a problem I have experienced myself. Could it be possible that the glue you are using is causing the dark color of the dried product?
Hi Jean
I’ve only ever made it using PVA based glues the last one was titebond 111 and the results are always the same ie black after 24 hours. I’ve tried it with all sizes of sawdust right down to fine powder and found fine powder much more usesble but no difference in colour.
Would love to find out why this is happening. Are there any glue manufacturers out there that might advise?
Phil
I mainly use locally (SA) manufactured glue brands but all are PVA base. Have you tried playing around with your glue to sawdust ratio?
Will try a much lower and a much higher dust ratio than soused previously and let you know
What I thought was an easy question has not turned out that way.
Have done test samples that indicate percentage of sawdust makes no difference to the blackening effect unless you add so little that it really remains a glue rather than a filler. Have tried it with wood shades from pine thro to darker woods, again no difference, at low temperatures up to room temperature, no difference. So lm left scratching my head.
Could it be that the glues too old??
Have you thought about and ruled out the container or utensil used for mixing?
Perhaps it’s a chemical reaction. I can’t imagine old glue would do that, rather it would just dry up and be unusable.
I just finished a table top with the same poor results using Titebond III. I turns dark and was very disappointed. Has anyone tried Gorilla glue that is clear? I have not tried it yet.
Yes and it is no better. Still looking for the correct glue. In the morning i am going to try polyurethane as the glue
I know that using metal tools with oak sawdust and glue will cause a reaction turning the mix black.
We used this method on our redwood cedar porch floor. Sanded well too to try to remove all glue that dried on wood around cracks. We just finished staining and some spots where the glue wasn’t 100% removed on either side of the crack it took the stain lighter and glossier. I can kive with that maybe, but the other problem is everywhere there was filler and we sanded well, there are blotches in the stain on both sides of what we filled. Like a smoky grey was added to the stain. Very upsetting after putting in so many hours to professionally prep the wood.
Would a polyurethane coating help?
I saw a video where a floorlayer used fine sawdust and some clear liquid out of a can as a final filler for newly sanded parquet flooring. He applied it all over the floor with a very wide spreading blade. Unfortunately we were not told what the clear liquid was. Any ideas?
I have mixed blo and white Oak fine sanding dust applied to a table top of the same material as filler. Then set it outside to dry. Did a final sanding after it dried and applied 2 coats of poly (oil based…use water based now). The difference between that top and others I did previously without the filler was night and day. This was about 15 years ago so other details are sketchy.
I am headed to my workshop today to do it again on a white Oak desktop for my granddaughter’s homework. I will try to keep track of details this time.
This may be knd of long, but I believe I can help answer the question as to what causes their DIY mixture to turn dark once it’s cured. The ironic part is that the mixture itself is the cause of the glue turning dark, it’s the direct result of adding the wood dust itself. Let me explain…
Wood glue turns black not because of the wood nor the adhesive alone. It is a combination of both that cause a reaction that turns the glue black when it dries. Some water-based emulsion glues contain an active amine that keeps them in suspension. The potent amine then reacts to ANY wood with high tannin content, resulting in it turning dark. TIP: If you have a project that has dried and resulted in dark, unsightly areas, all may not be lost. Try and apply acetone over the part where the glue dried black. Apply acetone (with gloves on) to a lint free cloth and rub into the darkened areas. This method has saved me from having to remove all the spots I had filled and start all over. Also, make sure you choose the proper wood glue for the task at hand. Because now we know that the dark results are caused by a reaction between certain types of glue and the sawdust mixed together, it is especially important to know what the other ingredients are in the specific wood glue you intend to use, as different ingredients will react differently to each other. The type of glue you choose will determine the final results once the glue has dried. The various types of wood glue available are recognizable through their various colors – white, blue, or yellow. These differences in color signify uniqueness in the components of each wood glue for a specific application. Every type of wood glue that you have seenn, for example, in hardware stores, has various chemical makeups, which allows them to work on particular surfaces:
YELLOW GLUE or CARPENTER’S GLUE – Most yellow wood glue is from a chemical called aliphatic resin. It is a little bit stronger than the regular white glue, but yellow glue dries faster. It also holds stronger. The best thing about yellow glue is that you can sand it over if you plan on repainting the area. However, please take note that it has a low resistance to wood stains.
RESORCINOL GLUE – It is the most durable type of wood glue, and is 100% waterproof. It is an excellent choice if you need to seal up or fix any outdoor furniture, concrete, or make other heavy-duty repairs. In applying Resorcinol Glue, please keep it away from any moisture until it gets dry, or the moisture will greatly effect the final results.
PVA GLUE – It stands for Polyvinyl acetate, which is another common type of wood glue. It is colorless and odorless, and is widely available almost anywhere. However, you should be careful not to apply too much because any excess adhesive on your project may affect the quality of final results. Hence, it can completely ruin the appearance of the project. (example is the darkened results many people mentioned above.)
EPOXY – (My personal preference) This kind of wood glue is the most popular. It consists of two parts, which includes a resin and a hardening agent. They are both liquids, but produces a chemical reaction that hardens when mixed. The most significant advantage of using epoxy is that they are 100% waterproof, and it is excellent in filling in gaps. (There are a few single part epoxys that work amazingly well for hardening, strengthening, and repairing wood, when used in conjunction with bondo.
Yes.. That bondo.)
CYANOACRYLATE GLUE – The best glue for joining thick pieces in the fastest time possible. You can also use an accelerant to speed up the gluing and drying process.
These are just a few of the types of wood glue you can choose from, I just named the types of glue I’ve learned from my own experience can have altered or unexpected results due to chemical reactions with the specific components the glue is made up of. It is important to chhoose the most appropriate glue for the project at hand, but also knowing the specific components in the glue will help you to better predict and understand how those components can potentially effect the outcome once full cured.
When selecting a wood glue, it’s all about the unique characteristics. For example, do you prefer a waterproof wood glue? How long do you want to be able to work with the glue before it starts to harden? Do you need glue to fill a gap? — The answer to the questions will help determine the right type of wood glue for your project.
A common favorite, PVA Glue, is widely available in most hardware stores. On the other hand, epoxy glue is a good choice if you need the finished project to be durable and water-resistant/waterproof. Buying convenience and availability are rarely a problem. Also consider the capabilities of the glue. Can you work with its pros and cons? The choice is always yours. Take your time in picking the right wood glue, and weigh all their advantages and disadvantages before deciding which glue to buy. Most wood glues have an average shelf life of 1-3 years, so it’s always good to keep a few different types on hand since each glue performs differently than others