
Quick and easy beginners projects.
Wooden wall clock.
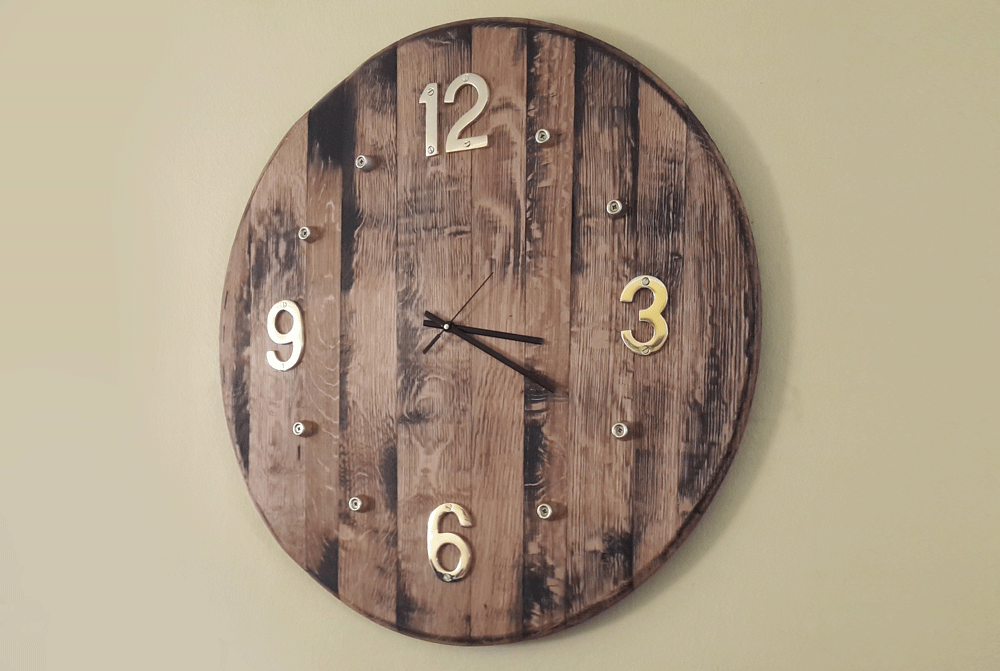
This DIY wooden wall clock tutorial is designed as a guideline for you to incorporate your own creative designs to create something functional and beautiful. For the tutorial, I decided to go with a rustic look with a modern edge while keeping the design simple.
What you will need (Materials)
-
 Your clock face
This will be the main structure of your clock and act as the base or foundation for the theme you decide to incorporate.
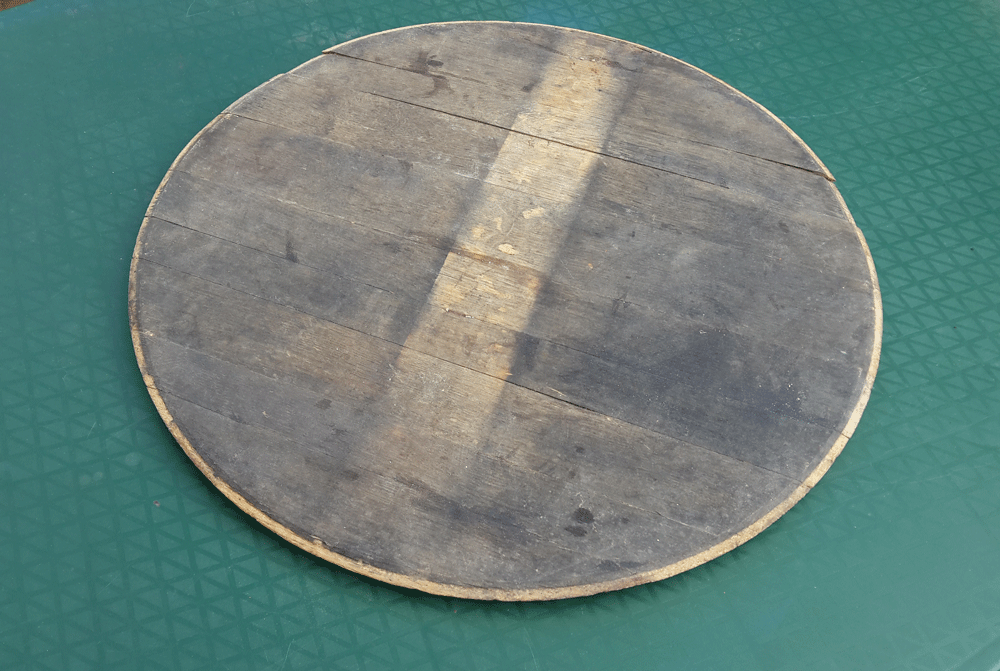
For the rustic component of my clock, I decided to use an aged and stained oak wine barrel top. Doing so meant I already had the shape and size of my clock covered and as a result would not require further sizing and shaping.
Don’t feel limited to the conventional circular shape of a clock. Your clock can be any shape that would fit your design. Keeping in mind that sizing would require additional tools or power tools.
-
Clock mechanism
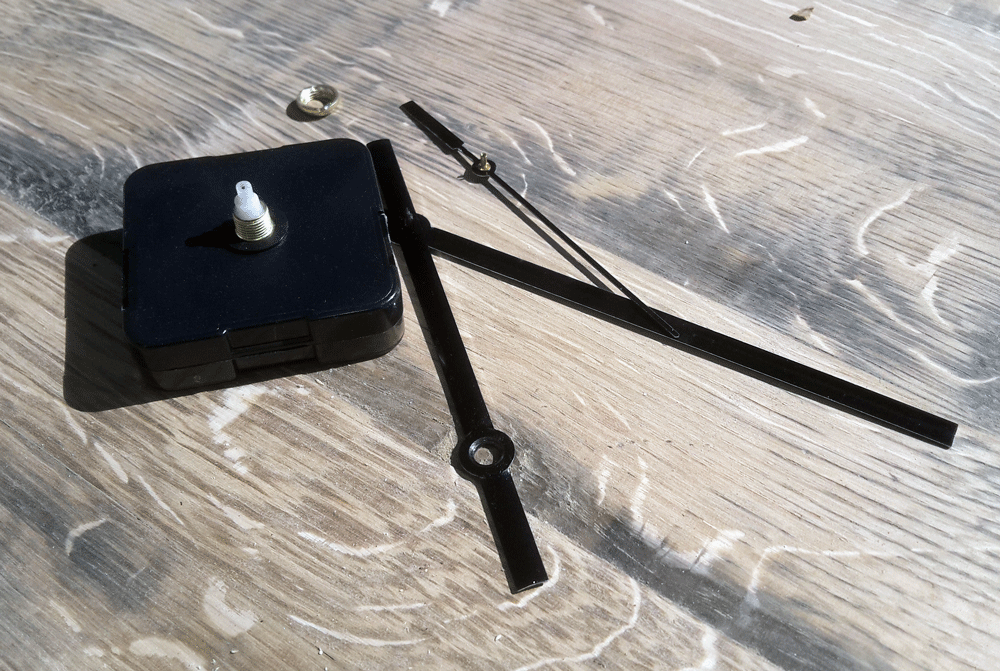
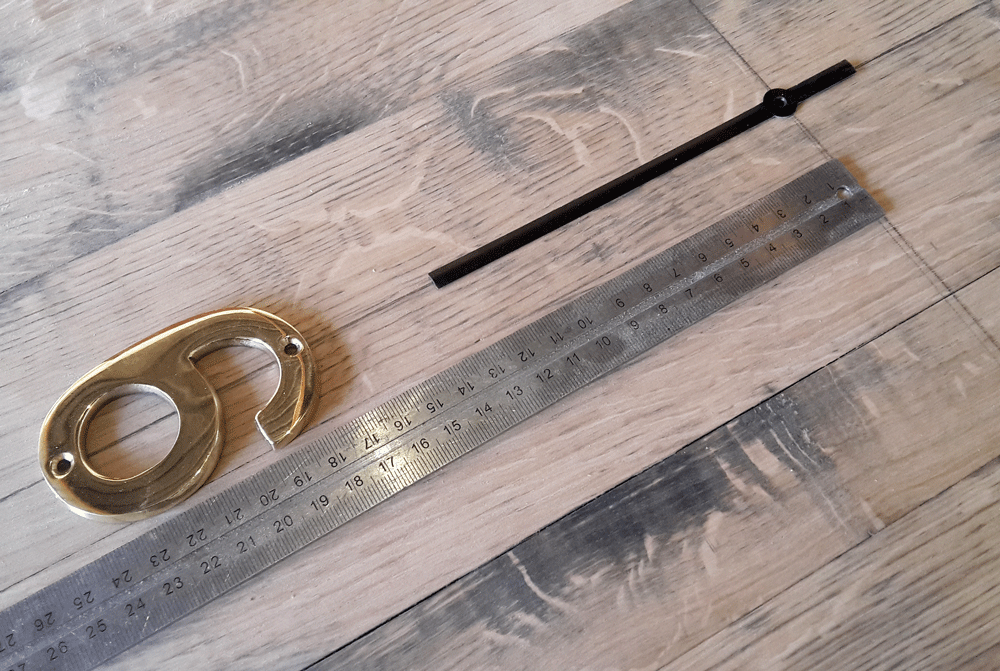
The brain of your clock will be the timing mechanism. This can be acquired by salvaging it from an old clock or like myself just a quick trip down to the local dollar store.
To save time I bought an inexpensive clock that owned the hour hand characteristics I felt would best suit my design and disassembled it.
The hour hands were easily removed by pulling them off by hand and the mechanism was removed by unscrewing the single screw holding the mechanism in place. -
Indicators
Here
 you will be spoiled for choice as there are no limitations as to what you can use as indicators (Roman numerals, studs, stickers or numbers in any font or style) the possibilities are truly endless.
For the modern component of my clock, I used brass numbers I purchased from my local hardware store.
Keeping to my simple design, I only wanted numbers on a 3 hourly interval and would use simple plastic studs painted with metallic spray paint for the 5-minute interval indicators.
Tools you will need
The tools you will need is entirely dependent on your own design.
For the featured design I used:
- Belt sander – To strip the most prominent discolouration and provide a leveler surface. (If you are using a piece of wood that is already level a belt sander will not be necessary though sanding for a smooth finish would be advised)
- Router – To sink the clock mechanism into the workpiece. (If your workpiece is thin enough to allow the shaft of the clock mechanism to protrude trough the face of the clock you will not require a router)
- Drill – To pilot the center hole for the clock mechanism. (The bit size will be determined by the mechanism shaft)
- Glue gun – To fix clock mechanism to the workpiece. (Can be fixed with screws also)
If your design requires sizing or shaping of the clock face you will, in addition, need a jig saw.
Step 1 – Find your center
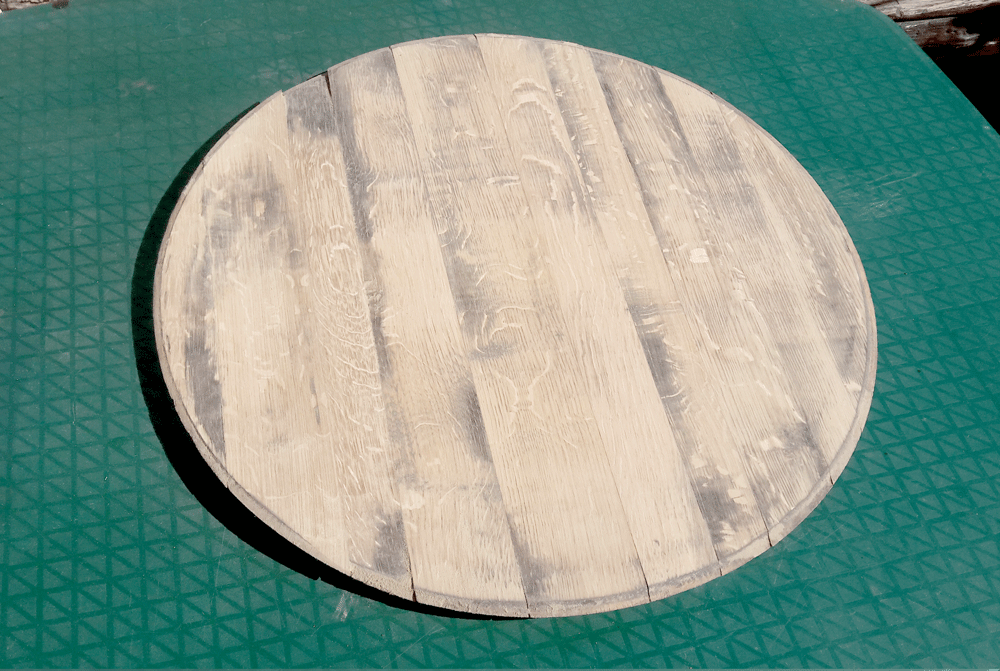
After a quick run with a belt sander, the face was ready to be marked.
Using some simple math, find the center of your workpiece and drill a hole that would accommodate the shaft of the clock mechanism. (This is important as the center will be your reference point from which you will plot the rest of your layout).
After marking the center, mark the X and Y axis on the clock face making sure of a perpendicular intersection at the center.
All the clocks I considered needed a 5/16″ (8mm) hole to allow the output shaft of the mechanism to protrude through the clock face.
Step 2 – Plot the layout
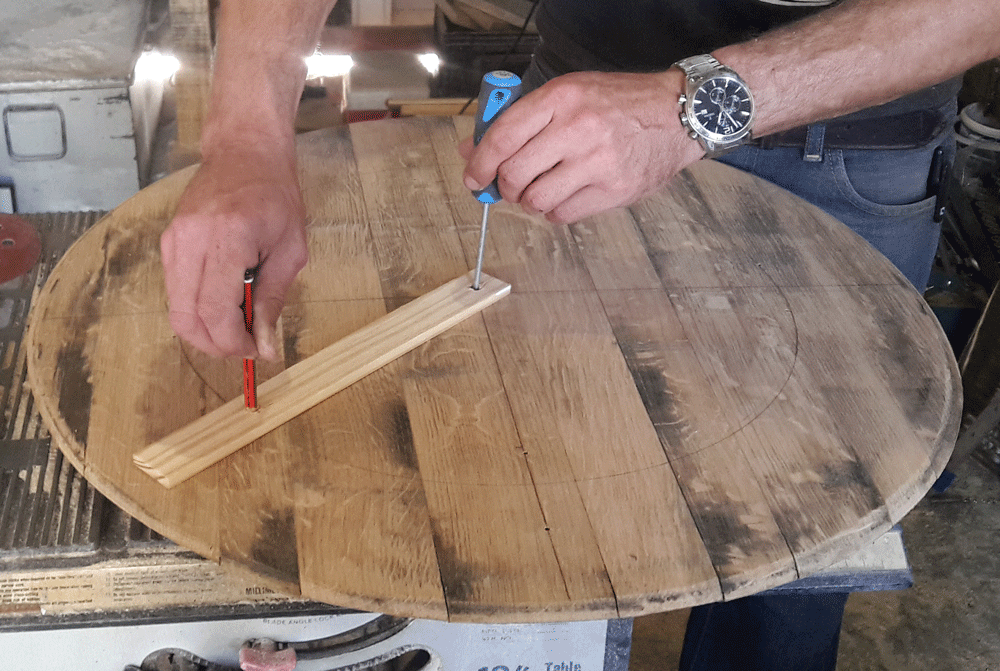 Laying out your indicators can be a great way to envision a spacing that would produce the desired result. After doing so, and deciding on a spacing, take stock of it with a ruler so it can be mimicked over the entire clock face.
I used a plank with two holes drilled to my desired spacing to draw a circle to act as a guideline when fixing my indicators.
Make sure to clearly mark where all the indicators will be fixed.
On a 360° scale, 5-minute intervals will be a 30° spacing.
As all my indicators were being fixed with screws, I drilled small pilot holes where they would be placed. This allowed me to sand down the pencil marks without losing where my indicators would be fixed.
This step was followed by treating the wood with oil to accentuate its characteristics.
Step 3 – Assembly
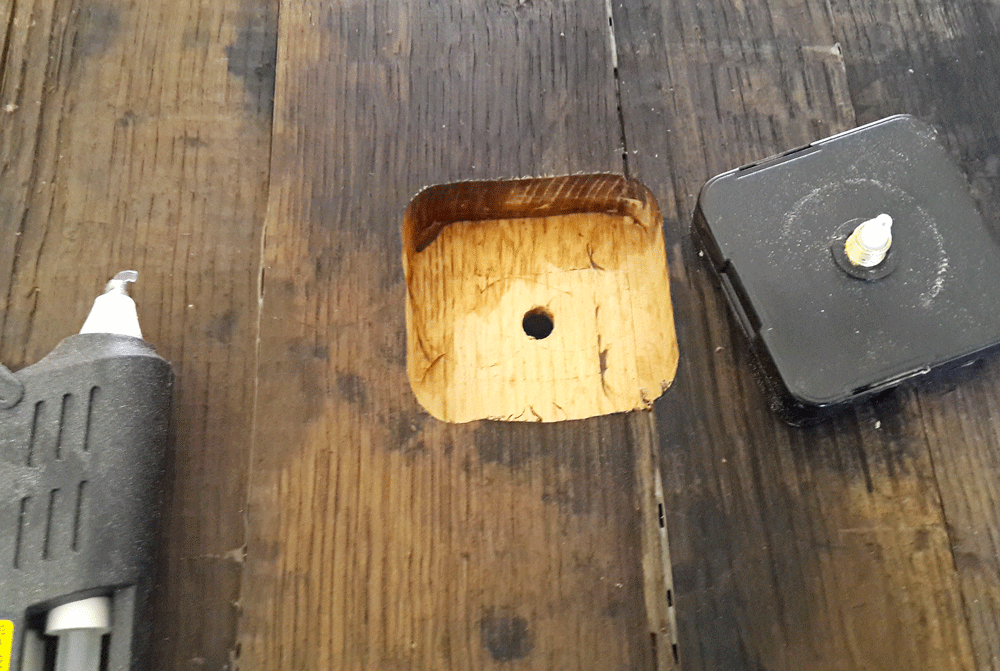
 The wine barrel lid I was using was 3/8″ thick which meant my output shaft of my timing mechanism (which was only a 1/4″ long) would not protrude through the watch face without me sinking the mechanism into the wood.
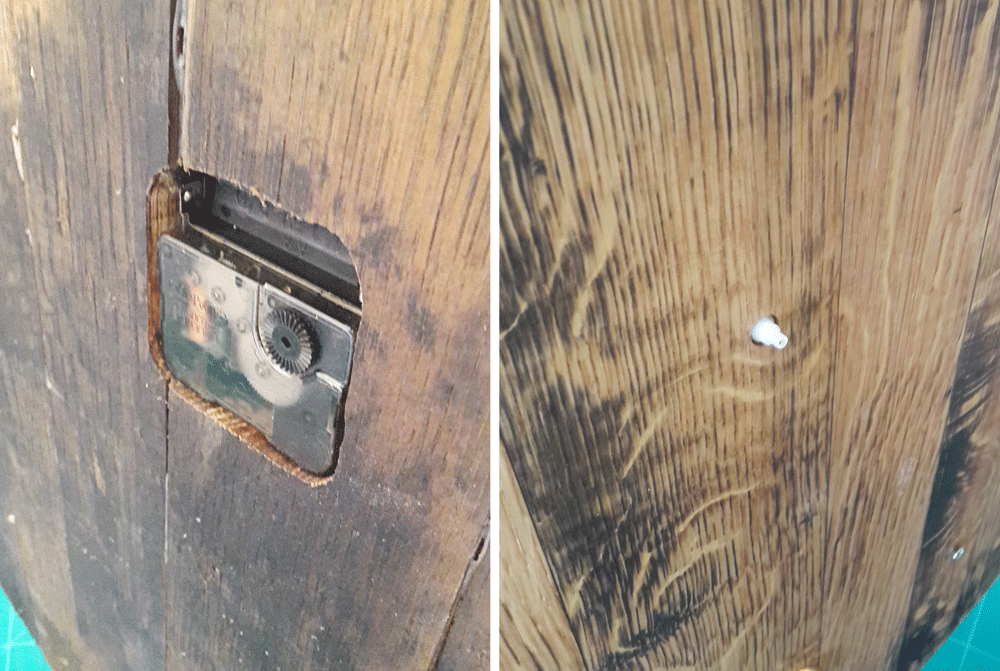
To achieve the required depth I used a router to make a cutout that would accommodate the mechanism.
I fixed the mechanism using hot glue and a glue gun but screws or even double-sided tape would work just as well.
Now all that remained was fixing my hour hands, indicators and a bracket to hang the clock.
The hour hands pushed on as easily as they were removed, with a gentle nudge by hand.
Using the drilled pilot holes, I screwed the time indicators in place and with a dry cloth, polished up the brass numbers.
After fitting a simple “off the shelf” bracket to hang the clock it was ready to be displayed.
As mentioned before, this tutorial is intended as a guideline to motivate and accommodate your own creativity.
Build your clock your way but most of all have fun doing so.
 Woodworkjunkie.com, DIY like a pro.
If you found this tutorial helpful or you have any suggestions, please leave a comment below.
Alternatively, you can contact us at admin@woodworkjunkie.com.
Hey Jean
Great tutorial! What tool did you use to carve out the shape of the clock mechanism?
Hello Pat
The cutout for the mechanism was made with a standard plunge router and a straight bit.
Hope this is helpful.
Happy building.
Jean
Hey Jean,
This is so well done! I’m excited to build one for myself. Clocks can be pretty expensive these days especially for ones that have the rustic look like this… You may want to start selling these things on Etsy!
The router technique for the back and sinking in the mechanism is super smart. I never would have thought about doing that and would have probably been pretty stumped on how to get the dang thing through the hole.
Thanks for the tips and the great tutorial. Really beneficial.
Hey Dalton
Thanks so much for the positive feedback. Very happy you like the project.
Happy woodworking.
Jean
Thanks for this practical tutorial Jean. You make it look so easy.
The final product is looking excellent.
I am also a part-time woodworker. I would like to see your future posts.
Hi Cobus
We have a few great beginner projects on their way so revisit shortly.
Jean
This is an amazing website, Jean! I love all your articles and will bookmark to read for future reference.
And I love this post about how to make our own clocks from old wine barrels. I am an advocate for recycling. And this is right up my alley. I have recycled my niece’s old baby bath tub into an outdoor pond for guppies!
Your instructions and very clear, and the photos really do help. So much detail. Easy for beginners like me.
One thing – I feel videos are excellent for such tutorials. Would you be creating some in the future?
Once again thanks! Great website! Great post! 🙂
Hi
Thank you so much for the compliments.
Yes, we are definitely going to be adding video instructions to most of our projects soon.
We are currently ironing out the finer details.
Jean