

Milescraft JointMate Doweling Jig User Review
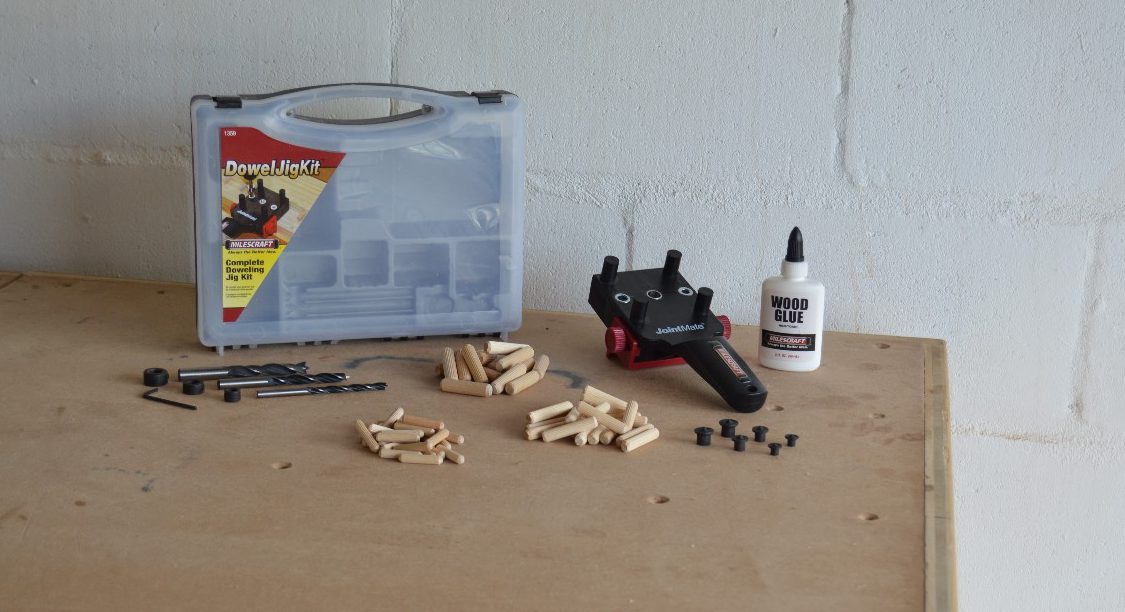
Very recently, while strolling around a tool expo at my local woodworking retailer I spotted the “Complete Doweling Jig Kit” by Milescraft. Inside it, amongst other things, was the JointMate Doweling jig. A simple handheld jig for “quick and accurately doweled corner, edge or surface joints”, or at least that was the claim.
The jig really wasn’t all that expensive so I had a bit of an “impulse buy” moment and ended up taking one home.
The Jig
The body of the JointMate is made from a hard plastic that, despite my doubts, offers very little deflection while using.
Encased in the body is three hardened steel bushing of different sizes used to guide a corresponding drill bit while making dowel holes. Each Bushing is paired with a dowel alignment slot of the same size.
Bushings sizes on the metric version are 6, 8, and 10mm while the imperial version has 1/4, 5/16, and 3/8″ holes.
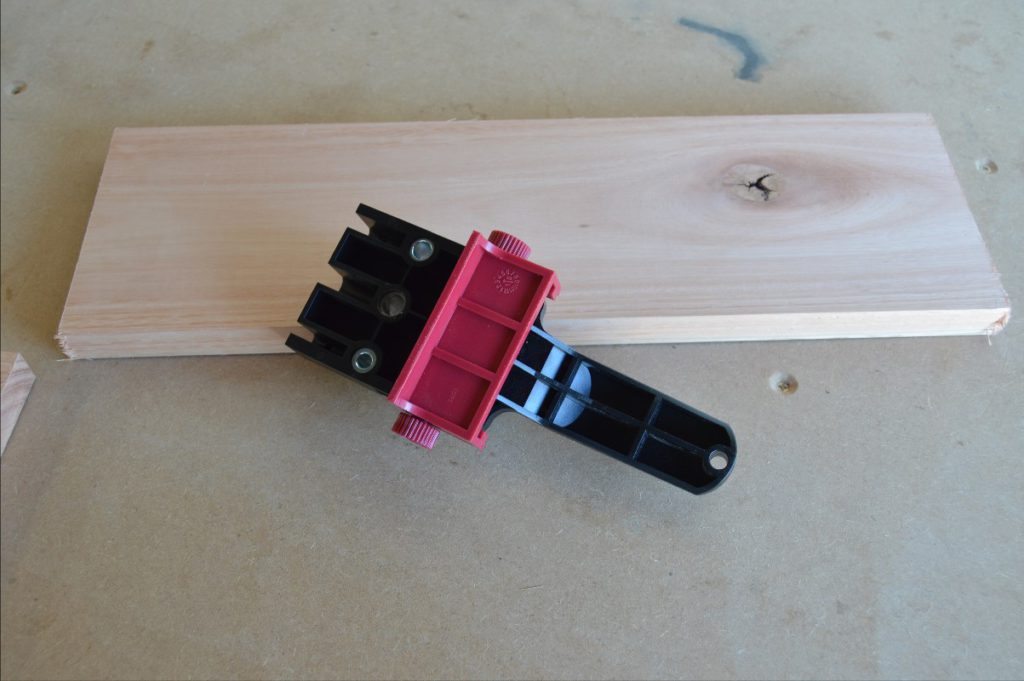
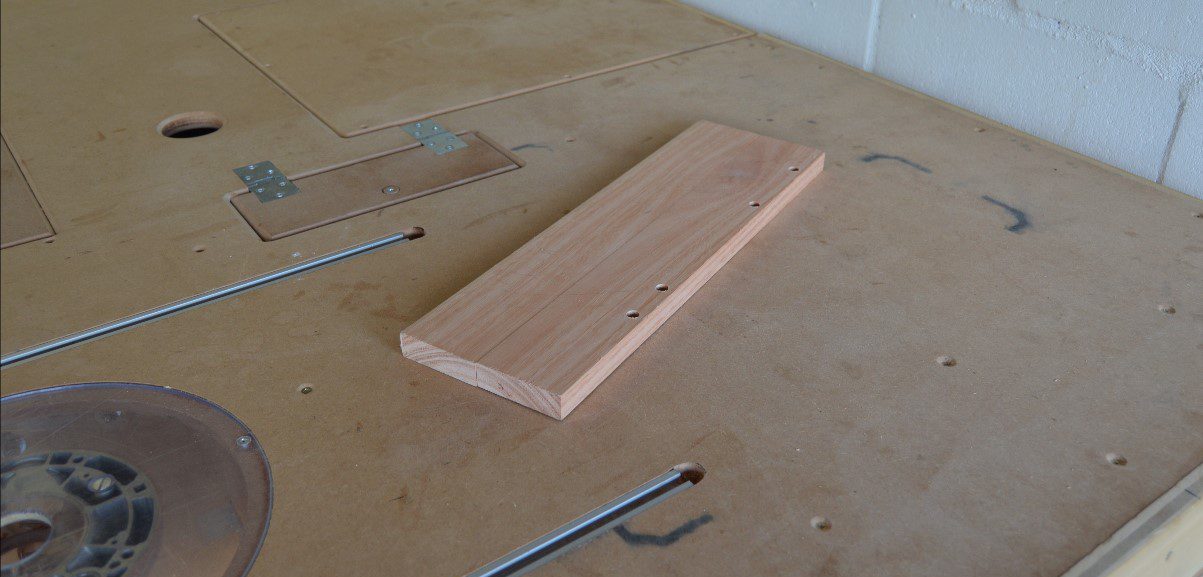
On the body, you will also note four self-centering posts used to accurately drill center dowel holes in the desired stock.
The posts are designed to accommodate stock thickness ranging from 12mm(1/2″) to 30mm(1-1/2″) thick.
The final noteworthy component of the jig is its adjustable fence guide which is intended to enable the accurate copying of previously drilled holes.
How all these components come together to dowel edge, corner and surface joint I will be getting to in a moment.
The “Complete Dowel Jig Kit”
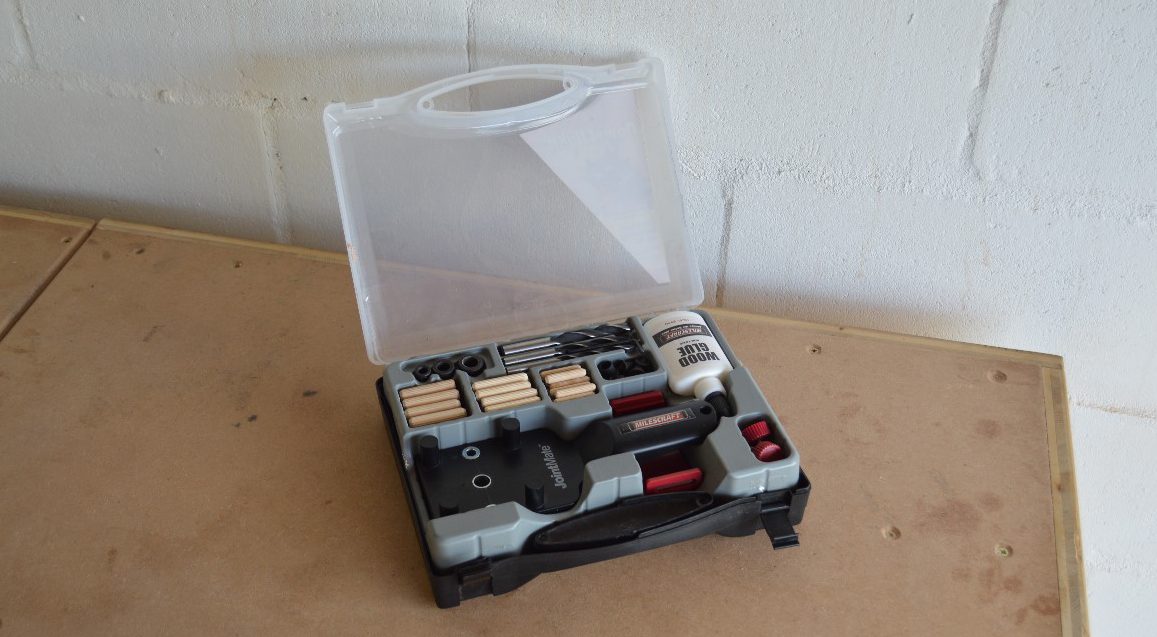
Though the jig can be purchased on its own I opted for the complete kit which comes in a little plastic carry case and besides containing the jig with the adjustable fence it also included:
- 3 Drill bits for the 3 size dowels.
- 3 Accompanying drill stops.
- A hex key.
- A small tube of wood glue.
- A few dowels of each size. Not many, just enough to get started.
- 3 sets of dowel tenon centers.
- And a user manual, of course.
The complete STARTER doweling kit would be a more accurate title and considering that the kit retails at almost double the price of just the jig, I probably should have purchased the jig only. Especially considering the JointMate jig was the only thing in the set that I didn’t have in my shop already.
On the flip side, however, it is nice to have everything you need to use the jig in one place (with the exception of a drill). It makes for easy storage and when you want to do some doweling you only need to grab the case.

Using the jig
Though using the jig is simple enough it didn’t seem that way just by looking at it so I turned to the simple-enough-to-follow user manual.
Besides containing info like a spare parts list and the appropriate dowel to board thickness ratio, it also contained step-by-step instruction (with pictures) on making the 3 joints mentioned.
The first stage of the process is the same for all the joints and it starts by marking the two pieces of wood (1 and 2) in their assembled position. This is to keep track of the intended orientation of the two pieces while drilling and adding dowels.
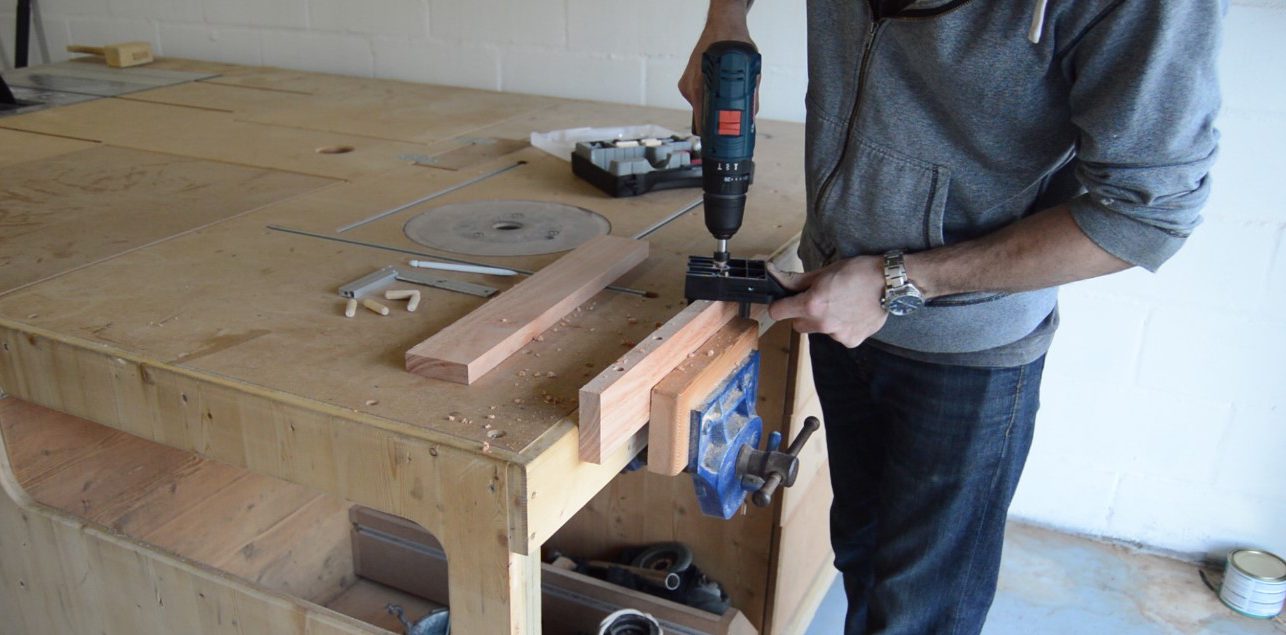
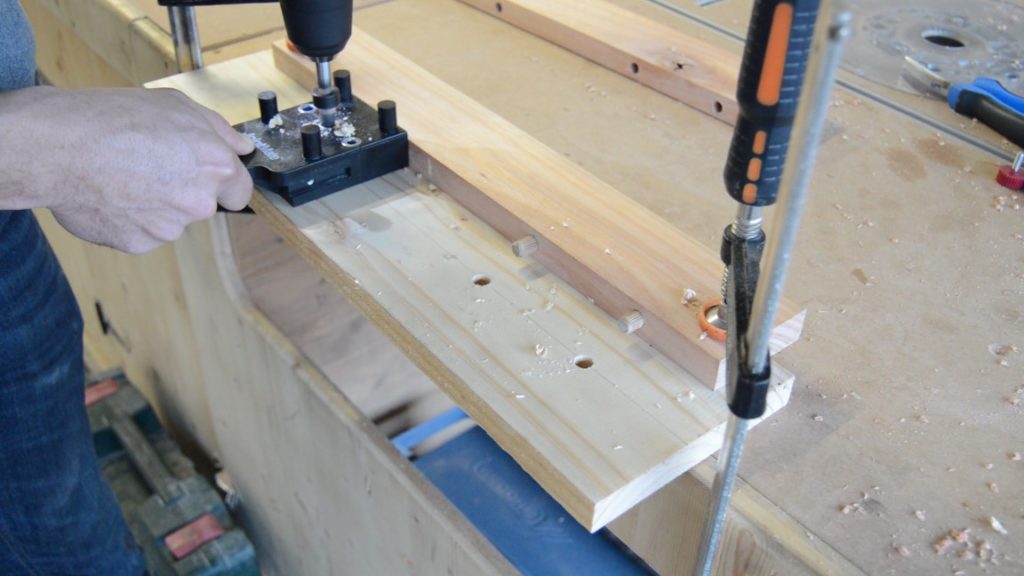
Next comes drilling the first set of dowel holes on the first piece.
To do this the jig is placed upside down and over the edge to be drilled. The jig is then twisted slightly until the centering posts are pushing firmly on either side of the piece of wood. When this has been done the guide bush will be centered and the dowel hole can be drilled. The step would be repeated for each dowel hole to be drilled.
When all the dowel holes have been drilled, dowels would temporarily be placed inside the holes (without glue). The function of these dowels is to firstly, set the guide fence on the jig and secondly, to align the jig while drilling the dowel holes on the second piece of wood.
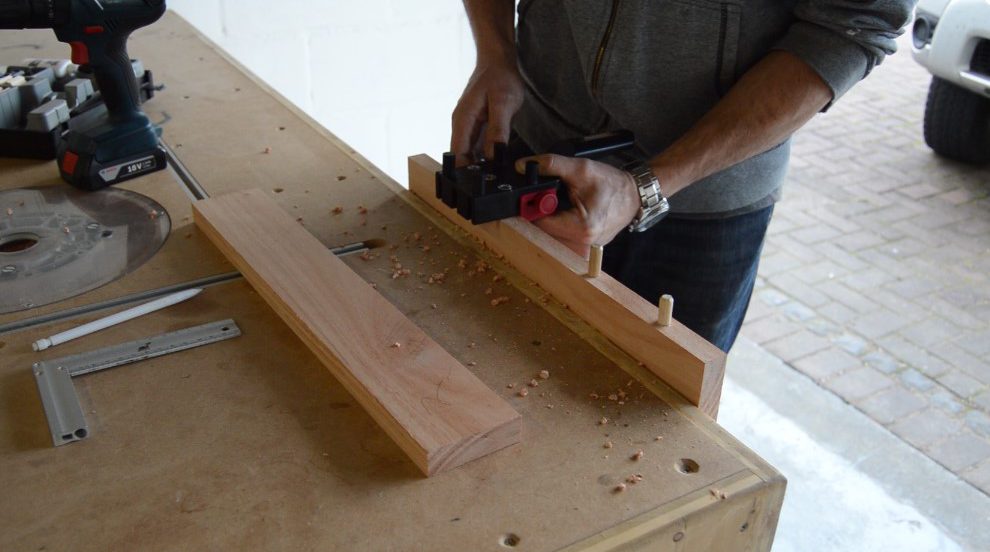
To set the fence, the bush is placed over one of the inserted dowels. The fence is then set firmly against the plank and locked in place by tightening the lock knobs.
The rest of the process would depend on the kind of joint to be made.
Edge joint

For edge joints, the second plank would be clamped together with the first so that the surfaces to be joined are flush.
The dowel alignment slot is then slid over the temporary dowel in the first plank until the fence pushes against the second plank.
The hole is then drilled and the process is repeated until all the holes on the second plank are drilled.
The temporary dowels are then removed to add glue and the planks can then be joined.
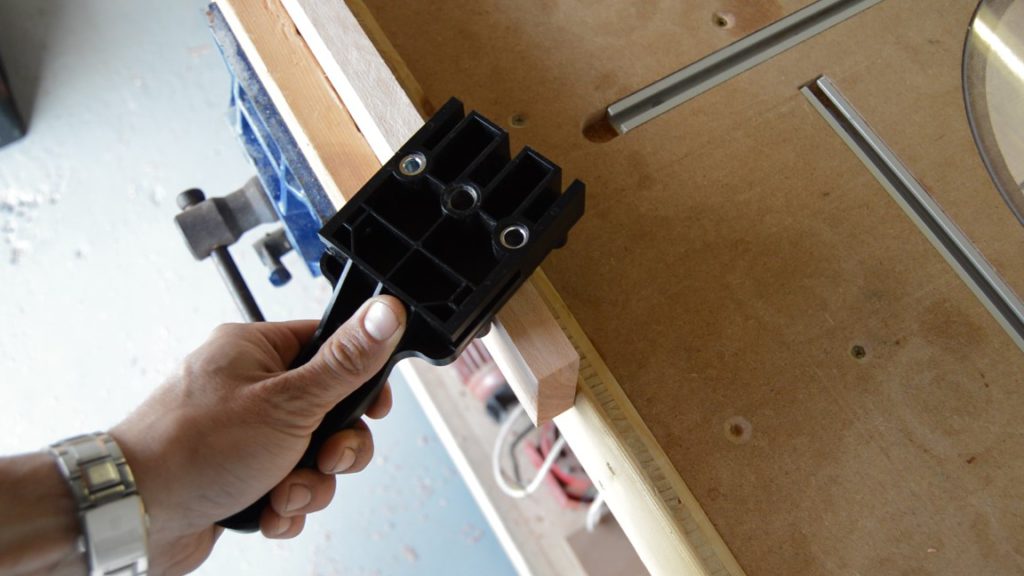
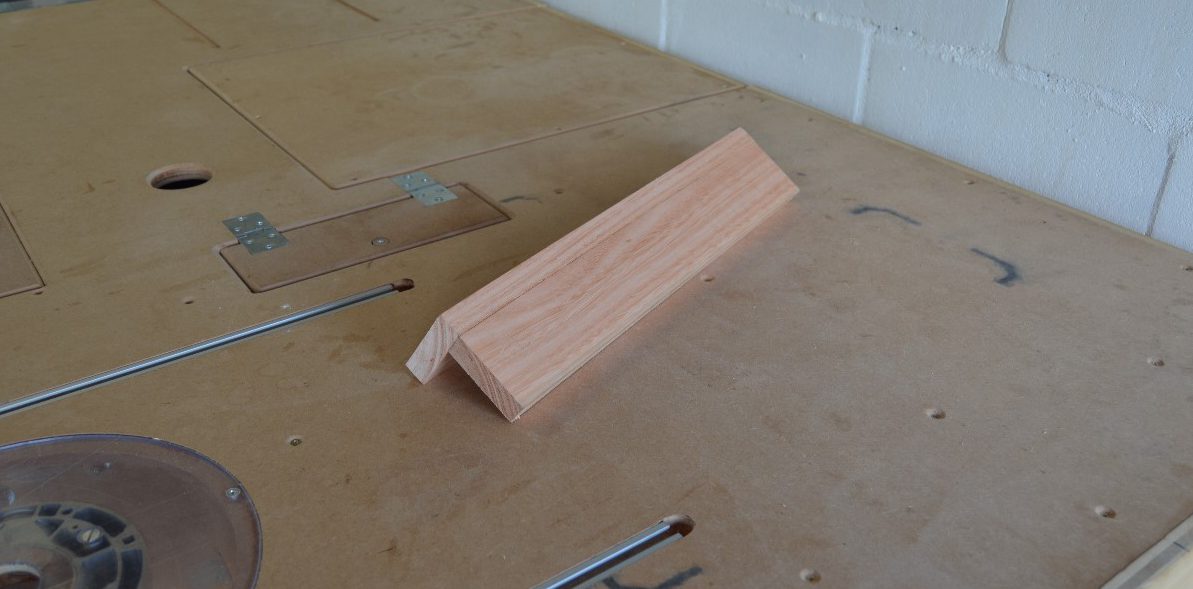
Corner joints
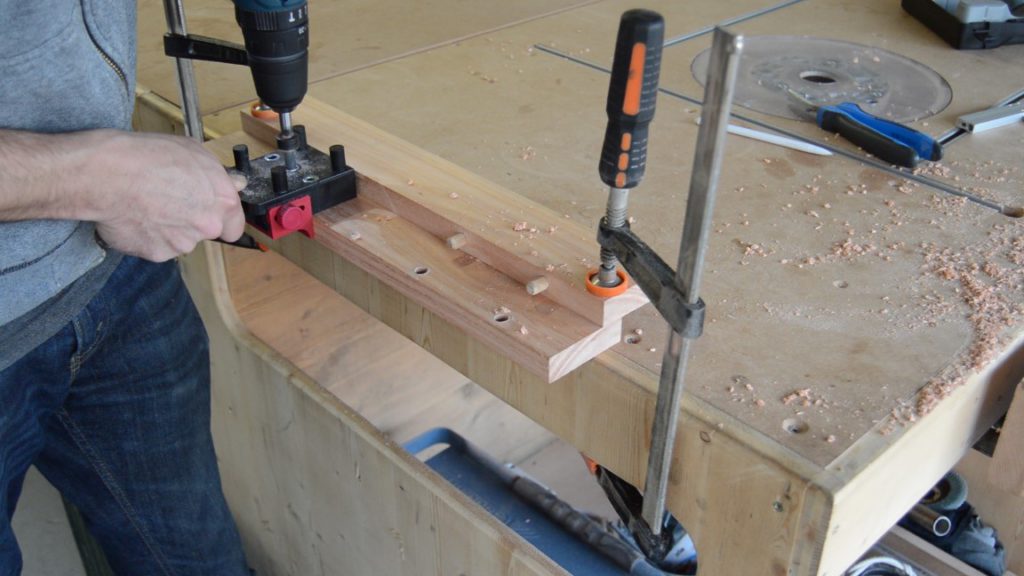
The process for joining corners is very similar to joining edges with the only real difference being the orientation of the clamped planks when drilling the second set of dowel holes (shown above).
Once again the jig is slid over the dowels inserted in the first plank by means of the dowel alignment slot until the fence pushes against the second plank. The dowels can then be drilled while holding the jig firmly in place.
Surface joint
Surface joints are situations where the dowel holes are drilled too far from the edge to use the fence.
In these cases, a line is drawn on the stock to mark the desired distance from the edge. As before, the dowel alignment slot is slid over the temporary dowels and the jig is aligned with the marked line on the plank using the centerline indicator on the body of the jig.
Once aligned, the holes are drilled.

Conclusion
The Milescraft JointMate is a nifty and easy to use dowel jig. It is a great option for a hobbyist like myself due to its usability and affordability. It seems well made making it good value-for-money also. It might not be the best option for more commercial woodworkers doing high volumes as I can imagine it causing wrist strain after some time but in my shop, it is definitely a welcome addition.
This is not just a waste of money! This is also a waste of your personal efforts and time. This is my own opinion. Thank you for your attention!
Can this be used for picture frames?
I haven’t used it for picture frames myself but I don’t think this tool is the best option for joining miters.