

It’s easy to have razor sharp chisels
There is no substitute for sharp equipment when it comes to woodworking. The edge of your equipment will in many cases determine the quality of your crafted projects. This is particularly true for wood carving or when it comes to making quality wood joints like box joints.
For some time I was under the impression that to sharpen tools, like chisels, is an act that requires a great deal of skill. That was until the day that a good friend brought over his set of whetstones so I could give sharpening my own chisels a go. I found the act to be straightforward as I achieved success with the first chisel I tried to sharpen. With the second and third the results were no different, putting a razor sharp edge on chisels that didn’t even have it when they were bought.
After that, I bought a set of whetstones and have enjoyed having sharp chisels, amongst other tools, in my shop ever since.
In this post I’ll walk you through the simple whetstone sharpening technique I use when sharpening chisels.
How to easily sharpen your own chisel
You’ll need whetstones
Many people feel the need to arm themselves with an arsenal of different grit sharpening stones ranging from 400 up to 8000 while I have achieved my desired results time and again using only a medium and a fine stone.
For a medium stone I use a 1000 grit and for a fine, a 6000.
Even new chisels need to be sharpened
 Coming from the factory, most of the hard work has already been done but by no means is a chisel sharp enough to produce quality joinery.
You can confirm this by trying to produce a smooth effortless cut through a piece of paper or simply test it on a piece of wood.
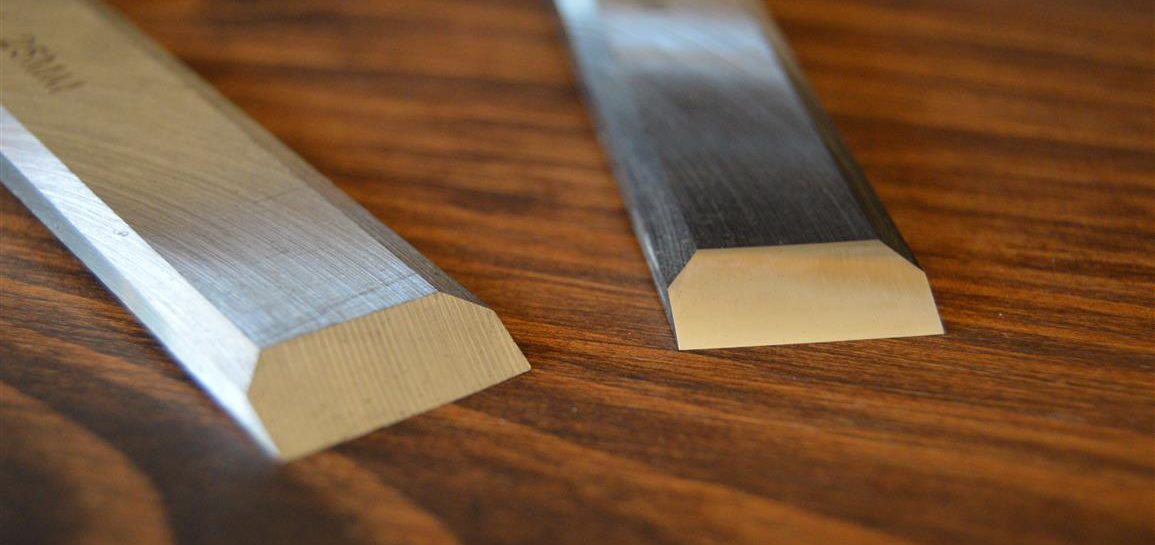
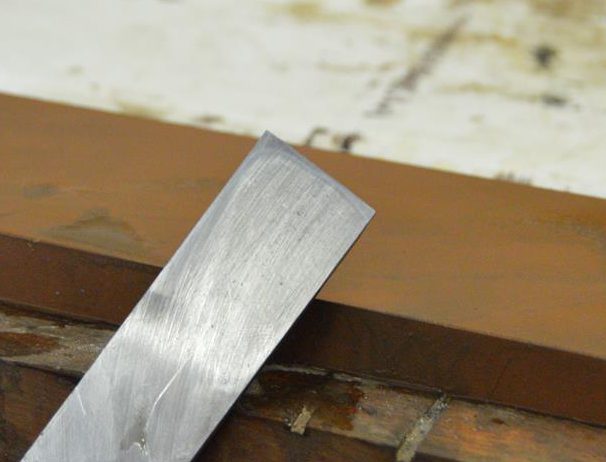
When unboxing a new chisel you will note a rough surface on the bevel as it was produced by a grinding stone.
To get that chisel to a razor sharp edge the surface needs to be polished to a mirror-like finish. This is where the whetstones come in.
Preparing a damaged chisel for sharpening

Often when reviving an old or damaged chisel you are faced with a pitted or uneven bevel and/or an edge that isn’t straight. In these cases, the chisel would need to be prepared for sharpening.
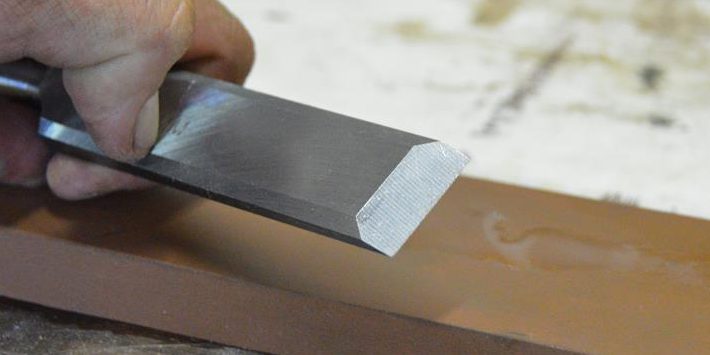
A simple enough method is using a grinding stone or belt sander with 150 grit sandpaper to restore the bevel.
Hold the chisel with its bevel flush against the sandpaper or grinding stone and allow the machine to do the rest. When the bevel is flat and the edge is straight the chisel is ready to be sharpened using the whetstones.
How to use a whetstone

Before using the stones submerge them in water for a few minutes. Normally about 5 to 10 minutes.
A good way to be sure if the stones are well saturated with water is when you no longer see air bubbles coming off the stones.
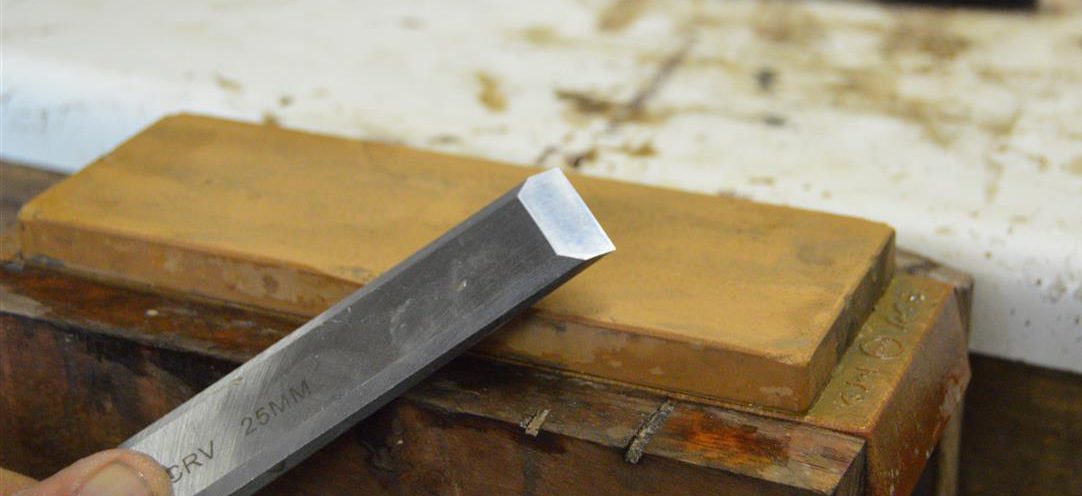
When the stones have been submerged long enough they can be used for sharpening. Place the stones on a non-slip surface and continue wetting the stones throughout the entirety of the sharpening process. I generally just place the stones in my vice but be careful not to apply too much pressure as the stones can easily break.
To sharpen an edge move the edge up and down the length of the stone while applying mild pressure. In the case of a chisel, the angle of the bevel will be the angle at which the blade will be held. To ensure angle consistency while sharpening a chisel honing guide/jig can be used.
Sharpening
Firstly you need to ensure the back of the chisel is perfectly flat.
 This is done to ensure the back of the edge is perfectly flat as most chisels are often slightly concave at the back due to the factory grinding process.
To do this place the back of the chisel flat on top of the medium stone. Without applying too much pressure move the chisel up and down the stone until the entire width of the edge has been ground level.
A smoother finish along the length of the edge will be an indication when this has been achieved.
Other sections on the back of the blade will also have been in contact with the stone and show the same finish but you only have to worry about the edge.
Repeat this step with the fine stone until the blade has a mirror-like finish.

The chisel can then be turned around so the bevel can be sharpened.
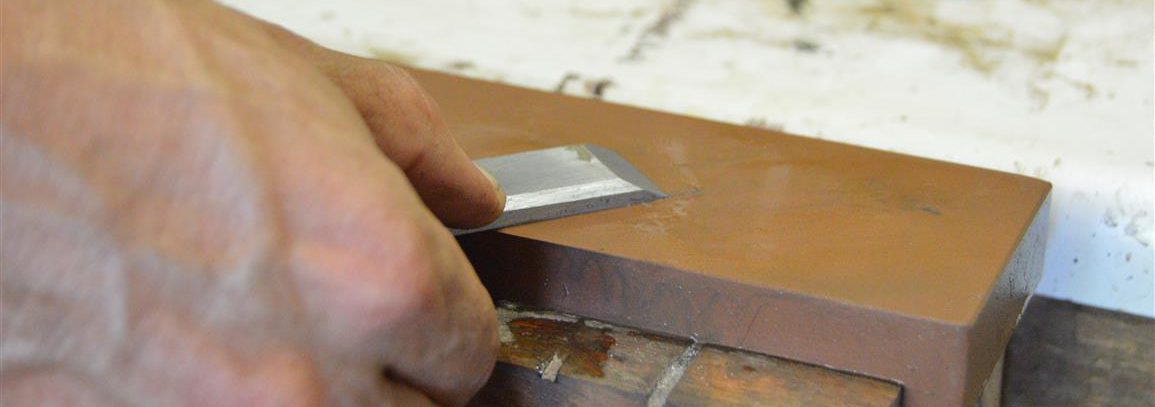
 Starting with the medium (1000) stone, place the bevel flush with the stone and with medium pressure, move the chisel up and down along the whetstone.
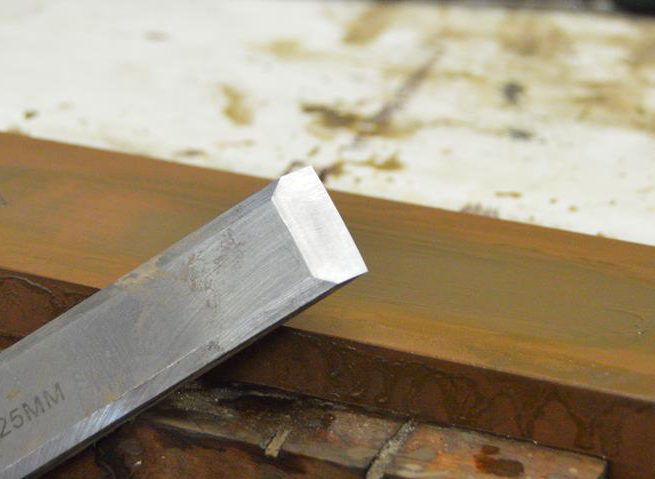
Continue this motion for a few minutes until little or none of the factory grinding mark is visible and the bevel is starting to have a more shiny finish.
Remeber to keep wetting the stone during the entire process.
Keeping the bevel flush with the stone can sometimes be tricky.
If you feel you need assistance to ensure that the chisel is always at the right angle with relation to the stone, I suggest getting your hands on a chisel honing guide. They are generally inexpensive and can make life a lot easier when sharpening your own chisels.
Once satisfied with the results move over to the fine (6000) stone and repeat the process.
After a few minutes, you should have a mirror finish on the bevel that will act as an indication that the chisel is basically finished.
All that’s left now is to turn the chisel around for the last time, place the chisel blade flat on the whetstone and lightly drag it towards yourself once. This is to remove any burr that might have occurred during the sharpening process.
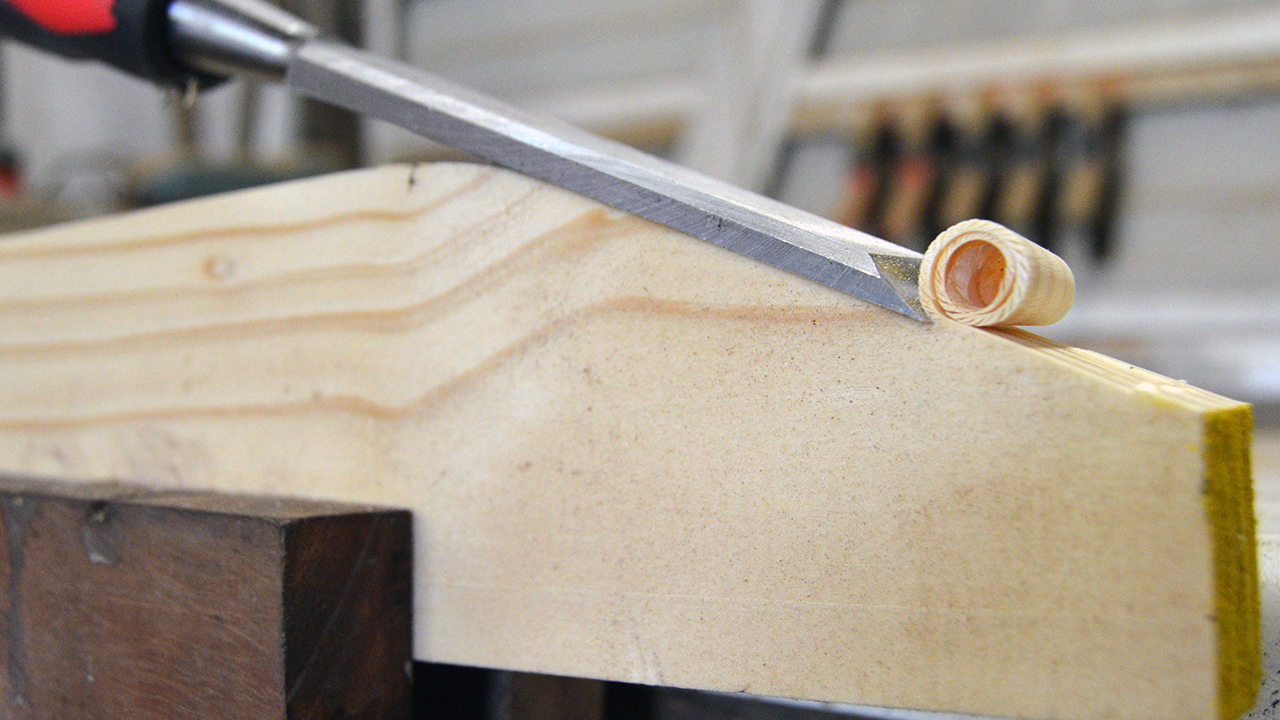
Once this has been done you should be quite pleased with the result as the chisel is now ready to shred some wood.
I told a buddy of mine the other day that even when you buy a new wood chisel it needs to be sharpened. It’s like an unwritten rule.
I’ll be sure to share this post with him and see if it will get the message through to him.
Hey Ted,
For sure, chisels do indeed need sharpening, even new ones, if they are going to be used for woodworking. If you are planning on using it as a punch or to pry open paint cans, not so much.
Jean
Hi Jean,
thank you for this post. This is very interesting.
My husband and I like renovating old furniture,
and these tips are very useful to us.
Hi Maja,
You will almost always find handmade joints on old quality furniture. That where sharp chisels would do some of their best work.
Jean
A great piece of information. I think this is what I was exactly looking for. All tips in a single click. I would definitely try to follow these suggestions. I really enjoyed this post and I hope you will keep posting this kind of post in future.
Hi Jean
Just discovered your channel and site. Great to finally have a local site & channel. One question on your sharpening video: I noticed that you don’t add a secondary bevel to your edges. Any specific reason?
Hi Eben
I don’t generally add micro bevels (though I have done it once or twice in the past). I feel the chisel cuts better without the micro bevel but obviously dulls faster.
Thanks Jean very enlightning for a guy with no experience like me .